Air + Moisture Control
Words: Steven Fechino
Words: Steven Fechino, Engineering and Construction Manager, Mortar Net Solutions
Photos: Mortar Net Solutions
New technology in the masonry industry is everywhere, from the handles on trowels, mortar mixes with additives, clamps to hold the string line in place to polymer modified membranes for flashing and drainage. The traditional methods still work when you stay completely traditional. However, you can run into problems when you blend some old and some new.
Mortars had changed in many ways from when I started. The sandpile is okay for side jobs but less common for larger commercial projects. The silo is the king of mortar dispensing, a process that has made the quality of the mix and waste non-issues for a mason. Grout, mortar mixes, and placement have changed in formulation and processes, many of the changes you probably already adopted in your daily practice.
Sealants have changed in the past 15 years, this seems like a long time, but as far as change goes in our industry, it is sort of new to many folks. I began my career using only polyurethane elastomeric, one-part, two-part— I used it all. Today, more product options can accomplish what I once did in the field with materials that will better perform with the commonly used materials in the market.
Flashings also have changed, where everything that is used today typically has is made of or has a scrim that is made of rubber, fiberglass, or plastic, all of which have different surface energy’s that limit the available sealant products that can be used for sealing lap joints because the surface energy can limit the adhesion of the sealants to the membrane.

An installer can challenge the surface energy comment by applying polyurethane elastomeric sealant to a piece of EPDM. Initially, it will adhere just in time, but throughout the curing process or a few days, the sealant could just peel off the membrane without a trace. With all of the products in the masonry industry that are changed or modified by polymers, products need to be checked for compatibility from the manufacturer to avoid major overall project problems in what seem to be small installation details.
The senior members of today’s workforce firsthand the evolution of the drip edge, placing pea gravel in the cavity to introduce mortar collection products.
I work in the moisture management industry. It is an industry I did not know existed when I came into masonry. Today we have products that can be used as systems, part of systems, and even additions to the traditional methods we all are familiar with. Here is a rundown of my opinions on what is important to keeping the masonry that you work so hard to install from leaking into the walls of the buildings.
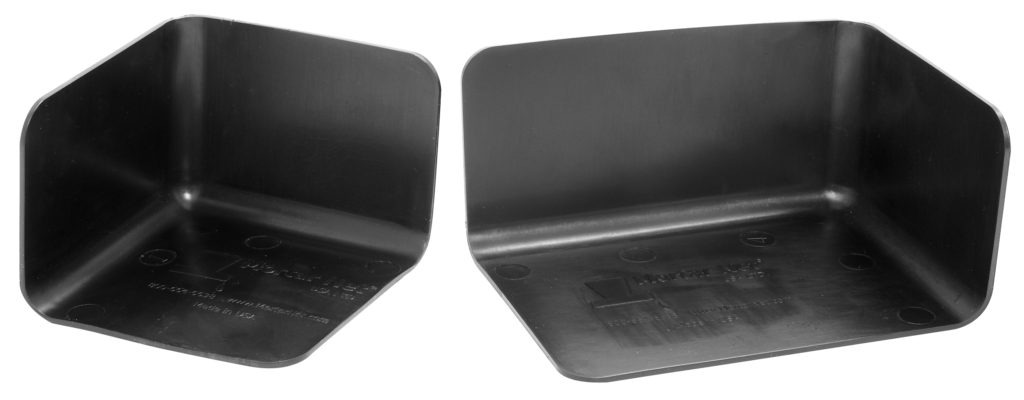
I am a strong proponent of drip edges. I have seen where they work, and that was all I needed. One of my first commercial restoration projects was to remove the brick four courses at the loose laid lintel, install new flashing and use a drip edge to ensure the moisture collected would be drained away from the building.
UGLY was my first thought! The drip edge worked, a building that was leaking like crazy a month ago was dry now, the flashing that was previously cut too short of the face of the brick was corrected, and the end dams that we made kept the moisture from going back into the jambs of the building. Drip edges can come in a variety of Kynar coated steel colors, copper, or stainless steel.
End Dams are critical to the success of all flashings. Early on, I had a seasoned bricklayer who I had a lot of respect for, telling me that end dams were not worth the time because the water would run off the flashing and dry in the cavity. I almost believed him, but today I can honestly tell you that that theory would not offer a building owner good performance in today’s market (my attempt to be smooth saying he was wrong). End dams were once made from a square of flashing that you folded into four equal squares and pulled the center up to create a corner.
This will still work today with the right membrane, but it can be installed backward if you are not paying attention, and a leak can then occur. A better, safer method for today’s market is to purchase them premade. With labor today being difficult to find and retain great folks, flashings are usually performed by a top-performing employee who can do it all. When a contractor uses prefabricated parts, the contractor and building owner can have dependable products with high performance. The labor to install can be trained at a lower level because less skill is involved.
WeepVents vs. CellVents is a case-by-case or job-by-job call usually by office personnel buying out the job. WeepVents are a mesh that should be placed at the flashing level at the base of the wall and at the bottom of a shelf angle or soffit to allow air to flow up the cavity as a chimney creating a quick exit for moisture filled warm air. CellVents are popular, but if you have made it this far into this article, you should consider WeepVents. They are commonly sourced from all suppliers and manufacturers but offer a much better final appearance for the building owner over the life of the building.
Drainage mesh is a big topic because there are many different options for placement and several other types. If your firm installs dry stack full-body stone, you should be considering using a drainage mesh placed directly against the substrate. One of the methods for drystack stone is placing the mortar in the cavity and on the back half of the drystack stone. The drainage mesh will protect the substrate from constant moisture intrusion. Additionally, suppose you are installing dry stack stone against a weather-resistant barrier that is not designed for stucco. In that case, you may have an issue where the weather-resistant barrier disintegrates because it comes in contact with the moist mortar of the dry stack stone.
The last item I wanted to discuss was a drainage mesh behind the adhered veneer. This drainage mesh is really important for adhered veneers because it allows the adhered veneer to scratch and the veneer to dry from both sides of the veneer and drain down to the weep screed without restriction. This is important because the drainage mesh prevents direct contact between the scratch coat and the substrate, water transmission into the building to a minimum, and wet adhered veneers from freeze damage during the winter months.
Moisture management is important to the overall function of a masonry wall system. Skipping steps can cost you serious money very quickly. If you are reading this article, chances are you already understand the importance. Still, constant sharing of moisture management principles within our industry will keep our hard work and great projects draining properly. When our projects are free of failures, this is just a small part of keeping the architects continuing to design with masonry and keeping our industry moving in all parts of the country.